
There’s nothing quite like that sinking feeling when you notice a chip or small crack on your windshield.
One moment, you’re driving along, and the next, a rock from a passing truck leaves a blemish right in your line of sight. Many people immediately think, “I’ll just use a windshield repair kit,” and for some minor damage, that can work. But how exactly do you use a Permatex windshield repair kit, and more importantly, when should you consider professional help?
I’ve been in the auto glass business since the late 80s. Back then, mobile repair vans rattled down streets powered by generators, and glass bonding wasn’t nearly as advanced as today. I’ve seen countless DIY attempts go wrong—some funny, some painful, and some downright dangerous.
Today, I want to share not just a step-by-step guide on using the Permatex kit, but also the real-world tips and tricks I’ve learned over 35 years to ensure your windshield repair is safe and effective.
Why Proper Windshield Repair Matters
A windshield isn’t just a piece of glass—it’s a key structural component of your car. It protects you from debris, strengthens your vehicle in case of a rollover, and supports your airbags. For cars with ADAS systems like lane departure warnings or adaptive cruise control, the windshield also serves as a precise mounting point for cameras and sensors.
Even a small chip can spread into a dangerous crack if left untreated. A failed repair could compromise safety, visibility, and even your insurance coverage. That’s why knowing how to properly use a repair kit is crucial. With the right technique, you can prevent minor damage from turning into a costly replacement.
What You Need to Know Before Using a Permatex Kit
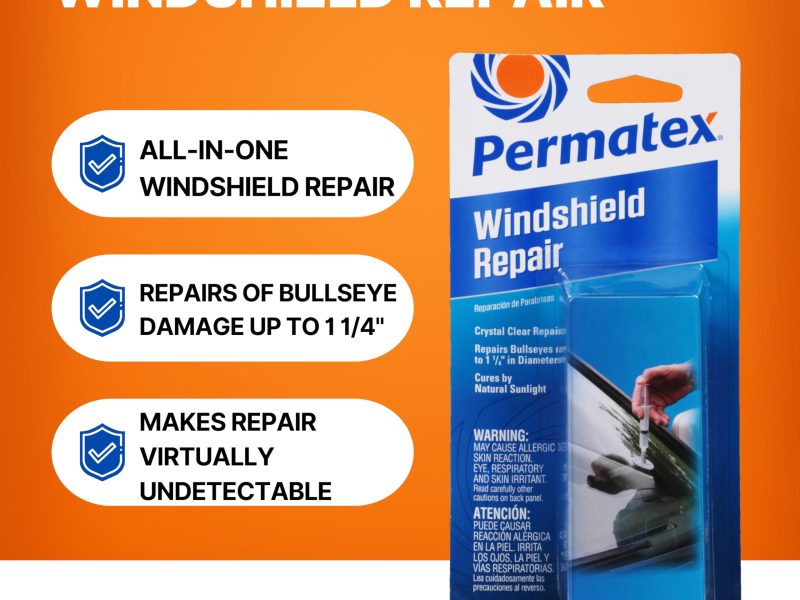
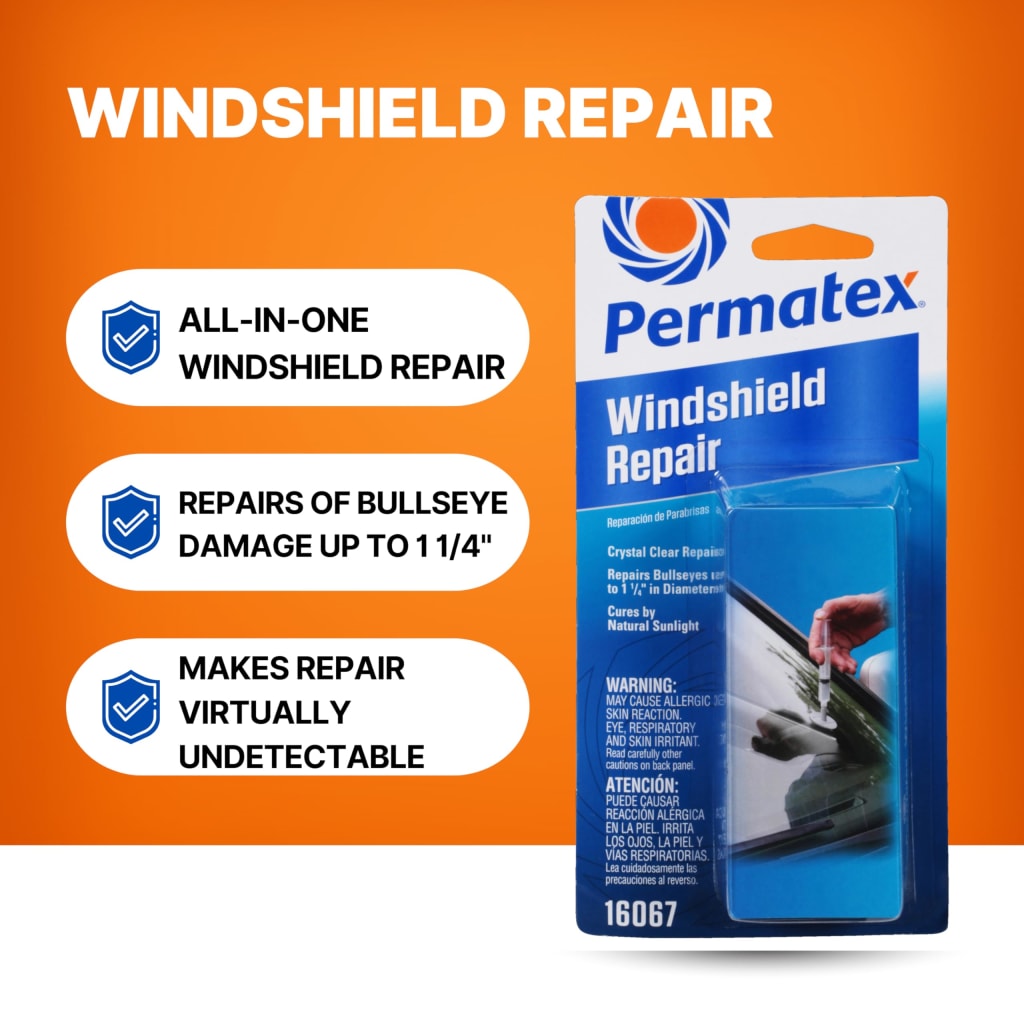
The Permatex windshield repair kit is designed for small chips and star-shaped cracks. It’s great for quick fixes when professional service isn’t immediately available. However, it has its limits.
Here’s what you should know before diving in:
- Size matters – Ideal chips are less than an inch in diameter. Cracks longer than three inches usually require professional repair.
- Location matters – Avoid repairing chips in the driver’s direct line of sight.
- Cleanliness matters – Dirt and moisture inside the crack reduce resin effectiveness.
- Temperature matters – Extreme cold or hot conditions affect curing.
I remember a client in Sterling Heights in 1999 who tried a DIY kit on a morning when the temperature was just below freezing. By noon, the resin hadn’t bonded correctly, and the crack spread. That’s why preparation is as important as the kit itself.
Understanding Windshield Chip Types
Over the years, I’ve learned that not all windshield chips behave the same way, even if they look small at first glance. Some chips are shallow and stay put for years, while others quietly turn into long cracks almost overnight.
A simple rock chip usually happens when a small stone hits the glass at just the right angle, leaving a tiny mark that looks harmless but can weaken the outer layer. Star breaks are a little more dramatic, with thin cracks spreading out from the impact point like spider legs, and they tend to spread faster when temperatures swing.
Then there are combination breaks, which are exactly what they sound like—a mix of chip and crack—and those can be tricky because they often look repairable until you really study how deep the damage goes.
In my experience, understanding what type of chip you’re dealing with is the first step in deciding whether a repair will actually hold or if replacement is the safer long-term move.
Step-by-Step Guide: Using the Permatex Windshield Repair Kit
Here’s how I recommend using the kit, based on years of experience and observing common mistakes:
Step 1: Preparation
- Clean the area – Wipe away dirt, debris, and moisture from the chip using an alcohol wipe. Avoid household cleaners that leave residue.
- Inspect the damage – Ensure the chip is suitable for repair. If cracks are branching or too long, call a professional.
- Position the car – Park in a shaded area away from direct sunlight. Heat can cause bubbles in the resin.
Step 2: Assemble the Injector
The kit comes with a pedestal, plunger, and resin. Attach the pedestal over the chip according to the instructions.
- Ensure it’s centered.
- Press firmly to avoid leaks.
- Check that the plunger moves smoothly.
Back in the early 90s, we used hand pumps and messy syringes that often spilled resin. Modern kits like Permatex are far easier to handle but require careful alignment.
Step 3: Inject the Resin
- Slowly push the plunger to inject resin into the chip.
- Allow it to seep into all fissures. You may need to cycle the plunger a few times to remove air pockets.
- Excess resin can be wiped away carefully with a clean cloth.
This step is crucial. Inadequate filling leads to trapped air, which can make the chip visible and reduce structural strength.
Step 4: Cure the Resin
Permatex kits usually include a curing strip and instructions for UV exposure.
- Place the strip over the chip.
- Allow the resin to cure in sunlight for the recommended time (usually 5–10 minutes).
- Avoid touching the area while curing.
A little sun helps, but too much can cause uneven curing. I’ve seen cracks “pop” mid-curing under intense sunlight, which is why shaded curing often works better.
Step 5: Remove Excess Resin
After curing:
- Peel off the curing strip.
- Use the included razor to scrape excess resin gently.
- Clean the windshield with a soft cloth and alcohol.
The result should be a smoother surface and a chip that’s stabilized against spreading.
Tips from the Field
After decades of repairing windshields, I’ve learned a few extra tricks that improve DIY results:
- Avoid moisture contamination – Don’t repair after rain or washing your car until fully dry.
- Temperature control – Resin flows better between 50–80°F.
- Use multiple cycles for star breaks – Push the plunger several times to fill all cracks.
- Don’t overdo it – Excess resin can make a visible blob, reducing clarity.
I’ve helped over 10,000 drivers with minor chip repairs, and following these guidelines dramatically improves the odds of success.
When to Call a Professional
Even the best DIY kit can’t handle everything. Call a professional if:
- The crack is longer than three inches.
- The damage is in the driver’s line of sight.
- Your car has ADAS cameras or sensors near the chip.
- The chip has moisture or dirt inside.
Professional technicians use AGSC-approved resins, OEM-grade glass, and precise tools to ensure repairs last. They also check ADAS alignment, which is critical for modern vehicles.
Common Mistakes to Avoid
- Skipping cleaning – Dirt or moisture ruins resin adhesion.
- Injecting too quickly – Creates bubbles inside the chip.
- Repairing on extreme temperatures – Can cause resin to cure unevenly.
- DIY on large cracks – Creates visible defects and safety hazards.
Even I’ve had techs in training learn the hard way. A minor lapse can turn a simple bullseye into a spiderweb overnight.
Pros and Cons of DIY Kits
Pros:
- Cost-effective for small chips.
- Convenient if a professional isn’t nearby.
- Prevents chips from spreading temporarily.
Cons:
- Limited to small chips.
- Can leave visible blemishes.
- Not suitable for cracks or ADAS-mounted glass.
- Risk of improper curing or air pockets.
I always tell drivers, “A kit is a first-aid solution. It’s not a permanent fix for serious damage.”
Real Costs and Insurance Considerations
A Permatex kit typically costs $15–$25, making it a cheap way to stabilize small chips. Professional repair can range from $50–$100, depending on the complexity. Full windshield replacement starts around $200 and can rise significantly for luxury vehicles.
Many insurance policies cover chip repair at no cost. Replacement often involves a deductible. If you’re considering a DIY kit, check whether your policy will cover a professional fix afterward—especially if the DIY attempt doesn’t go perfectly.
Pro Tips for Longevity
- Check the repair after a few days – Look for bubbles or cracks spreading.
- Avoid car washes immediately after repair – High-pressure water can dislodge curing resin.
- Inspect your windshield regularly – Small chips can spread unnoticed.
Keep a UV-protective parking spot – Sunlight improves curing but prevents overheat issues.
FAQs
Can a Permatex kit fix any type of windshield damage?
Permatex kits are designed for small chips and minor bullseye or star-shaped cracks, usually less than an inch in diameter. Large cracks, combination breaks, or damage in the driver’s direct line of sight usually require professional repair.
Using a kit on unsuitable damage can result in air bubbles, poor adhesion, or a weakened windshield. Even if the chip looks minor, its location and depth matter, especially for vehicles with ADAS cameras and sensors. Always inspect the damage carefully before attempting a DIY repair.
How long does it take for the resin to cure properly?
Curing time depends on sunlight exposure and ambient temperature. Permatex kits typically require 5–10 minutes under UV light for the resin to set, but extreme heat or cold can extend curing times.
If the resin hasn’t fully cured, it may appear cloudy or trap air bubbles, reducing effectiveness. Always follow the instructions carefully and avoid touching or cleaning the area during curing. In shaded or cooler conditions, letting the resin sit a little longer ensures a stronger, long-lasting repair.
Is it safe to drive immediately after using a DIY kit?
For small chips, driving after the resin has cured is generally safe, but extreme caution is necessary. Avoid rough roads, heavy vibrations, or car washes immediately after repair, as these can weaken partially cured resin.
Chips in critical areas, such as near ADAS sensors or driver sight lines, should always be inspected by a professional afterward. The main goal is to stabilize the damage until a permanent solution—professional repair or replacement—is possible, ensuring safety isn’t compromised.
How do I prevent air bubbles or poor adhesion during the repair?
Air bubbles often result from injecting resin too quickly or not cycling the plunger to fill all fissures.
Cleaning the chip thoroughly before repair and removing moisture or dirt is crucial. Performing multiple slow cycles with the plunger helps the resin reach all corners of the crack. Using a curing strip and proper UV exposure afterward also reduces the risk of trapped air.
Careful preparation and patience are often the difference between a smooth, nearly invisible repair and a noticeable blemish.
Can a DIY kit replace professional windshield repair entirely?
DIY kits are great for quick fixes, but they aren’t a substitute for professional service in most cases.
They stabilize chips temporarily and prevent spreading but don’t always restore full structural integrity. Professional technicians use AGSC-approved resins, OEM-grade glass, and tools that ensure proper filling, curing, and sensor alignment. For chips longer than an inch, near ADAS cameras, or with moisture contamination, calling a professional is always safer and often more cost-effective in the long run.
How can I maintain a windshield after using a Permatex kit?
After a repair, avoid washing the car or using high-pressure water on the windshield for at least 24–48 hours. Inspect the repaired area regularly for any signs of spreading or new cracks. Park in shaded areas to avoid extreme temperature changes that can stress the resin.
Replacing worn wiper blades and keeping the glass clean with microfiber cloths can prolong the life of both the repair and the windshield itself. Proper post-repair care helps maintain visibility, safety, and longevity of the fix.
Conclusion
Using a Permatex windshield repair kit can save time, money, and prevent chips from Car windshield scratches may seem like a small issue at first, but ignoring them can gradually lead to bigger problems, including reduced visibility, glare during night driving, and even compromised windshield strength.
Understanding the type and depth of a scratch is the first and most important step, as it helps determine whether the issue can be handled with simple DIY methods or requires professional attention. While minor surface scratches can often be improved with careful polishing and the right tools, deeper damage should never be overlooked or patched temporarily.
Regular inspection, safe driving habits, and proper cleaning techniques play a big role in preventing scratches from forming in the first place.
Simple practices like using clean microfiber cloths, replacing worn wiper blades, and avoiding harsh debris can extend the life of your windshield significantly.
When scratches start to affect visibility or safety, acting early can save both time and cost in the long run. Ultimately, a clear and undamaged windshield is not just about appearance—it’s a critical part of driving safety and overall vehicle care.